 Image 1
 Image 2
 Image 3
 Image 4
 Image 5
 Image 6
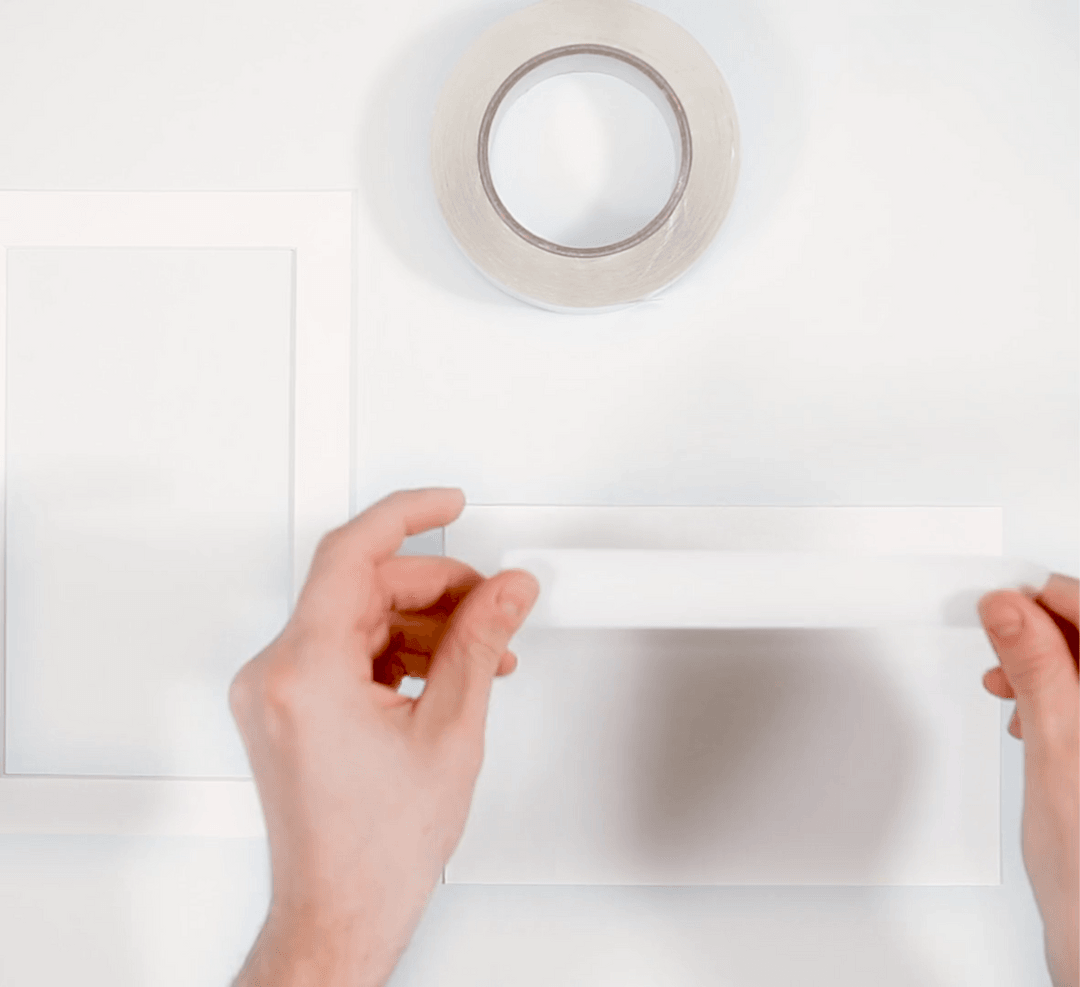
Our how-to images above explain the steps necessary for mounting a picture to a mat. For more detailed steps, please refer to our guide below.
Before You Start
We want to ensure your picture is properly aligned and secured within the mat so that it does not fall over time. We also want to make sure you use materials that are suitable for the type of picture you are framing.
Mounting your picture should not take more than 2 minutes.
What You'll Need
- Your mat board
- Your picture
- Tape - Archival tape should be used for valuable or irreplaceable artworks. For regular pictures, you can use scotch tape or paper tape.
- Attach Your Picture to the Mat
-
One of the main problems people face when mounting pictures incorrectly is that the picture may wrinkle and warp over time due to different expansion and contraction rates of the picture and mat board due to temperature and humidity changes. To counter this, the picture should be "free-hanging" with only the top part secured to the mat.
- 1. First, place your picture face down on a clean surface and prepare your tape. Now we are ready to attach our picture to the mat piece; take a piece of tape and place it on the back of your picture, leaving half exposed to attach to the mat piece.
- 2. At this point, we need to hold the mat board and attach the mounting piece to the picture, ensuring that the mat piece does not cover critical parts of the photo.
- 3. Once you are satisfied with the placement of the mat on the picture, press down the tape firmly to secure the mounting piece in place.
- 4. Your picture should now be attached to the holder and ready to be placed in a picture frame. Need help fitting the picture into a frame? Learn everything about framing your picture.
